Last updated on March 22nd, 2025 at 04:45 am
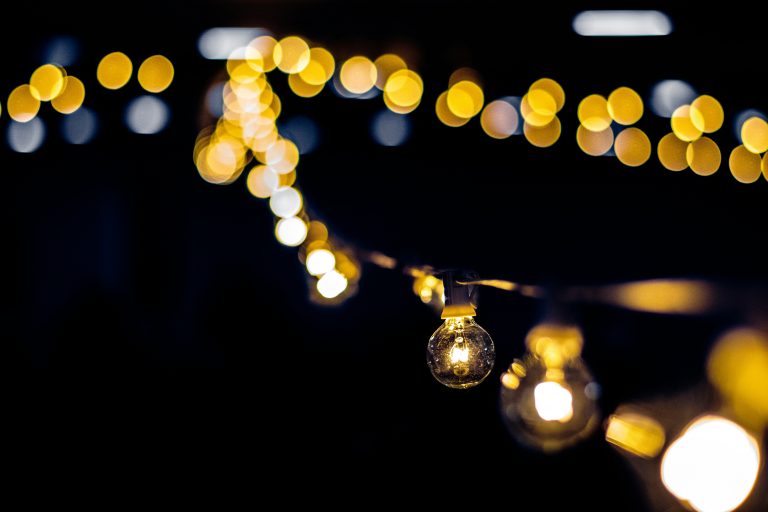
Ever wondered how to safely install string lights for your outdoor events? Or maybe you’ve always wanted to try something new when it comes to string light installation but you don’t know the right and safe way to go about it. This guide is here to help.
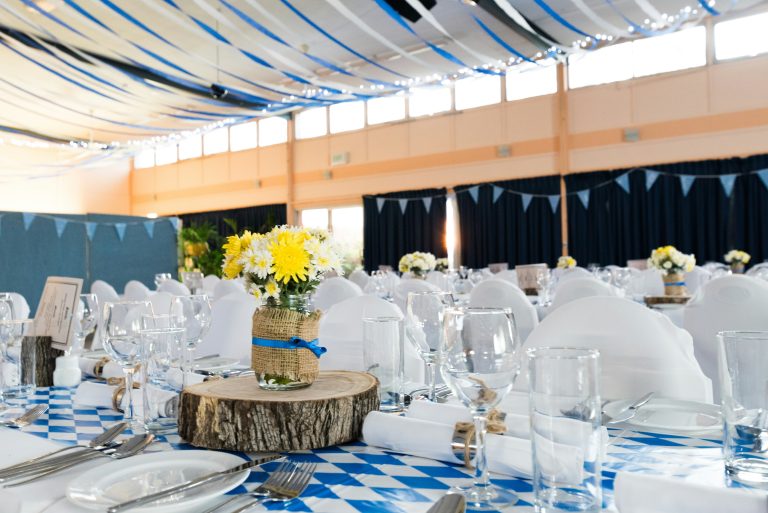
As professionals who have hung more lights than 69% of event planners in the last couple of years, we can confidently say that safety is the key to doing and getting it right. Just so you know, a recent study showed that 83% of event planners consider proper lighting installation crucial for overall guest satisfaction and safety. So, whether you’re planning an in-hall wedding, a corporate meeting, or just a regular occasion, this guide is to help you through the ins and outs of safely installing string lights for your events.
So without wasting much time. Let’s go ahead and get right into it.
What is Safety? And How Does it Relate to Events Generally?

In its broadest sense, safety refers to being protected from harm, danger, or risk. It encompasses physical, emotional, and psychological well-being. In the context of events, safety is a critical consideration that touches every aspect of planning and execution. It involves identifying potential hazards, implementing preventive measures, and creating contingency plans to mitigate risks.
In essence, safety in events is about creating an environment where all participants can enjoy the experience without being exposed to unnecessary risks that may affect their well-being. It’s usually a proactive and ongoing process that requires attention to detail, foresight, and adaptability to changing circumstances.
Okay now that we know what safety is and how it relates to events generally, let’s look at the crucial steps in your string lights installation.
Step 1 – Planning Your Outdoor Lighting Layout
Okay. You’ve got the whole idea. You thought it was time to get into action and execute these ideas, but before you even think about climbing that ladder, let’s talk about strategy.
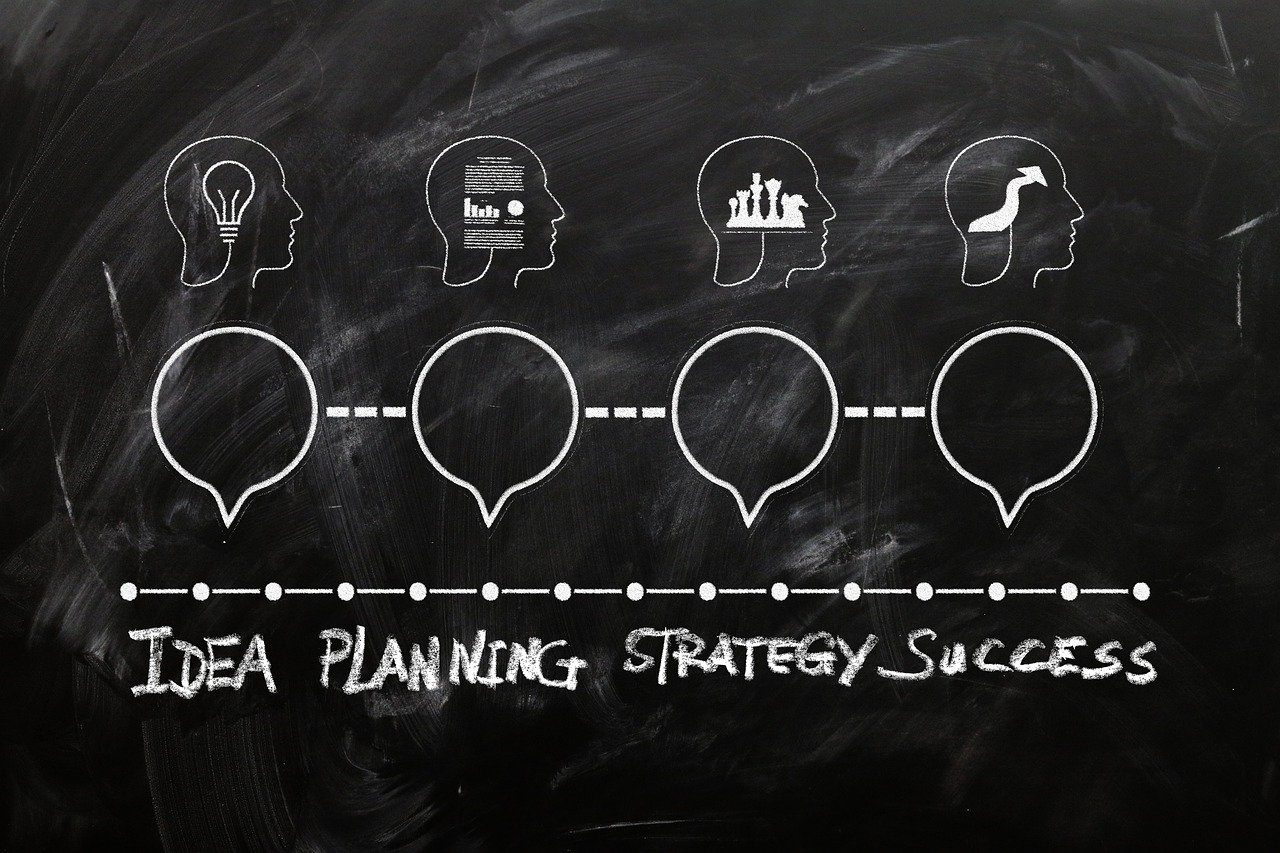
What is strategy? A strategy is a comprehensive plan of action designed to achieve a specific goal or set of objectives. In the context of string light installation, strategy plays a crucial role in ensuring a safe, efficient, and aesthetically pleasing outcome.

Maybe you do not know, that a well-thought-out strategy influences success by guiding the entire process from the idea stage to completion. Strategic planning most times begins with a clear vision of the desired result, taking into account factors such as the event’s theme, the venue’s characteristics, and any specific client requirements. Trust me, we’ve made mistakes with string light installation in the past, and these are powerful lessons we learned:
- Never forget to assess your space and identify your power sources. Nothing is worse than realizing your lights don’t reach the outlet, and this may be mostly applicable if you are using plug-in lights. You’ll be frustrated and the thought of starting over again could make you go crazy, especially when time is no longer a companion. So make sure you’ve done every assessment you need to do, and you’ve had those power sources identified.
- Do your calculations in time. I know a lot of us do not have a thing for Mathematics in general and at this time, you’d probably be thinking it’s one of those complex algebras or binomials, but I could tell you for free it’s none of these. The calculation I’m talking about here has to do with the length and number of string lights needed for the installation. It’s not that hard, and if somehow it is, you can always get a professional to do it for you. Pro tip: Always add an extra 5-12% for wiggle room.
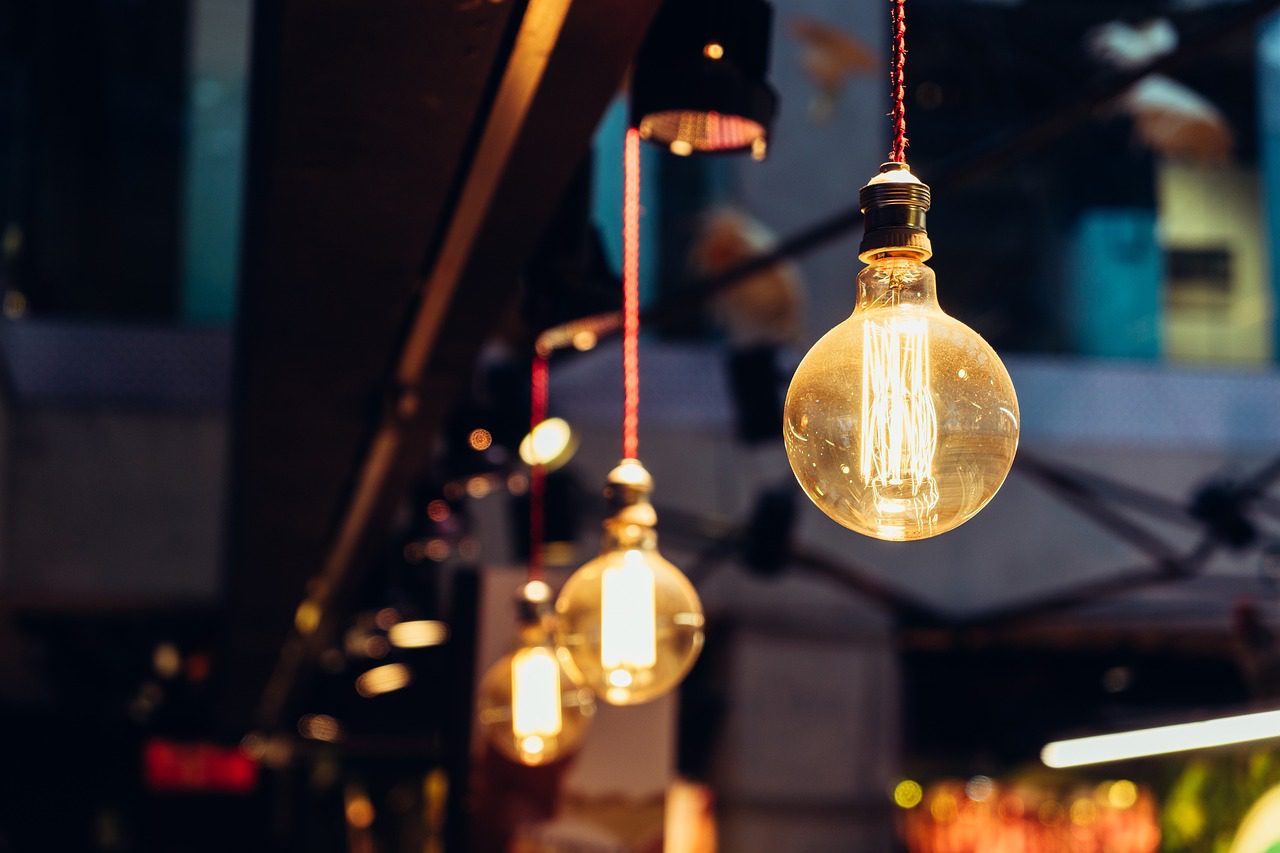
- Know the type of light you are using. There are varieties of options you could practically choose from, in case you do not know, we have a comprehensive guide that covers everything you need to know about string lights. Click here to go to the blog post. Weatherproof fairy lights are nice and are great for year-round use, and if you want, you can go for one of these solar-powered outdoor lights, which are the most perfect fit if you want something great and eco-friendly at the same time.
- Never forget to have a sketch or diagram of your lighting plan. This is probably something you don’t hear all the time, but having a sketch or plan before the installation will help you avoid a lot of mistakes and save you more time. Create that sketch, and no, it doesn’t have to be that great, or a masterpiece, just a rough idea to guide you. It doesn’t matter if it looks funny. By the way, my girlfriend knows whose sketches I’m talking about already and I would probably be sleeping on the couch tonight, but I don’t care.
- Have your tools and materials in place. I can’t stress this enough, gather all the tools and materials before you even think of starting. You don’t want to find yourself in a situation where you can’t access the things you need at a tight time. I recommend getting all the tools and materials you need weeks before the time of installation. Think of it as having a good dance partner on the dance floor- it makes everything smoother and more enjoyable. Here are some of the things you’ll likely need in your lighting toolkit; Ladder or lift, wire cutters, electrical tapes, mounting hardware (we’ll get into the specifics later), measuring tape, voltage testers, gloves, safety glasses, pair of shoes, extension cords and power strips, cable ties or zip ties for securing wires, dimmer switches or controllers for adjustable lighting, multimeter for testing electrical connections, pliers, screwdrivers, light bulb testers, spare bulbs and fuses, portable work lights or headlamps, wire strippers, and finally, outdoor-rated string lights.
- Never forget to prepare the installation area. If you’ve read to this point, then congratulations, you’re now one of the top 1% that will become a pro in no time. Before you start hanging those beautiful lights, you need to set the stage. To make things easy for you. Here’s a pre-installation checklist, this applies to any kind of event and would be useful to you in the long run.
- Clear the space and remove any potential hazards. Why would you have that wobbly chair or low-hanging branches in your Installation areas? Is it for decoration? Or celebration of your fall? Clear them fast before they clear you.
- Check for overhead obstacles and underground utilities. Don’t make the mistake every other person out there makes. Be safe.
- Set up your ladder or lift safely. Please do not do it carelessly. You do not want to wake up the next day after your fall, and the next thing you see is a video of your fall on one of these YouTube-compiled funniest fails of all time. I would probably laugh too if I ever came across that video. So stay safe. Pro tip – If you’re going high, make sure you’ve got someone who is holding the ladder in place for you, like one of these gym spotters who help their fellow mates stay safe in the gym arena.
- Mark your installation points and routes for wiring. A bit of painter’s tape can be super helpful here.
I’ve probably said this a million times, be safe in all you do. Remember, a clean and safe work area is the foundation of a successful lighting project. Plus, it makes the whole process a lot more enjoyable to execute.
Step 2 – Securing Mounting Techniques for Various Surfaces
We are done with the first step, moving on to the second step, let’s talk about keeping those lights where you want them at points in time. Different surfaces call for different techniques, so we are going to break it down:
If you are dealing with overhead lighting;
- Install eye hooks and guide wires. This helps create a strong support system for your lights.
- Use a guide wire lighting technique for long spans. This will act like a tightrope for your string lights!
If it is a temporary setup;
- Use Command hooks or strips. From our experience of using these hooks, they hardly fail. They’re strong, removable, and do not cause damage to your surfaces.
If it is a tree decoration;
- Kindly use tree-friendly light mounting methods here. Nails or screws would be completely useless. Instead, make use of adjustable tree straps.
If the requirement is a building or permanent structure;
- Make use of screw-in hooks or anchors, they are great for brick, and wood, and can also be used for concretes.
Remember, the goal is to create a secure installation that can withstand unforeseen circumstances and serve the main event’s purpose.
Step 3 – Proper Wiring and Electrical Safety

Now, let’s get down to another aspect of the whole thing. Proper wiring and electrical safety. I know, I know, it’s not the most glamorous part, but it’s important for keeping your event dope and your guests safe. Here’s what we would recommend:
- Always use outdoor-rated extension cords and surge protectors. Indoor ones may not be suitable here.
- Implement GFCI protection for all your outdoor circuits. This will help protect your electrical circuit in the long run.
- Implement waterproof connections. A little electrical tape and some silicone sealant should do the job. And if you have the budget, you can always get an experienced technician to do the whole work for you. Circuits, power sources, and control units should be protected.
- Circuit overloading should be avoided by all means. Don’t do it! Trust me, understanding the basic electrical requirements of your setup can help avoid future disasters.
- Pro tip: When it comes to extension cord safety outdoors, always go for the heavy-duty, grounded options. They are readily available out there. You just need to find them.
Step 4 – Testing and Troubleshooting Your Setup

We’ve come a long way! But before you get too excited, let’s make sure everything’s working perfectly.
Here’s your final checklist:
- Conduct a thorough pre-event lighting test. Don’t wait for your guests to arrive before testing. You need to make sure everything is working perfectly fine and there are no problems.
- Know how to handle common issues. You don’t even need to be a pro to do this. A faulty bulb or loose connection may require just a quick fix.
- Always have a backup plan. Do not just rely on the materials you’ve got, even if they are the self-acclaimed bests in the market. Having backups would save you big time just in case things go sideways.
- Know when to call in professionals. I would call them the pros. When dealing with complex electrical issues, it’s best to leave it to a licensed electrician who will handle the job for you.
And here’s a pro tip: If you have the budget, invest in a remote-controlled lighting system. Being able to adjust your lights from your phone is not only convenient, but it’s also a great party trick!
Conclusion
There you have it, ladies and gents – your comprehensive guide to safely installing string lights for outdoor events. From planning your outdoor lighting layout to testing your installation, we’ve covered everything you need to know for a successful string light installation.
P.S. We can help you handle your next event, if this is something you would love, kindly reach out here and we’d love to have you around.
By the way, I would love to know. Did this blog post provide answers to what you’ve been looking for? If yes, which ideas would you love to try out? Let us know in the comments. Bye for now!